So enough talking about making stuff...lets get to the melting part. As you may recall I built the original fireplace enclosure to be 18w x 18d x 16h.....an awful lot of volume for a backyard furnace and a small propane burner or even a waste oil burner...as I soon discovered. A lesson for all...start smaller and more compact...you will heat faster and more efficiently and get to the thrill of casting sooner.
 If you look back at about page 8 you will see two crucibles in the furnace enclosure as I was building it and test fitting the burner arrangement. It took about 10 lbs of propane and a long long time for the furnace to get up to a melting temperature. so I decided it was time to make some changes. I went back to the BYMC forum....you've been there to learn I'm sure!! and I read a bunch more aboput other peoples furnaces and chose to make my enclosuer smaller to be more efficient. Since I used firebricks to make the fire enclosure it was really not too hard to make the inside space smaller...I just started stacking firebricks inside. The photo above shows my home made crucible in a heating stage but you will notice the interior space is now only three bricks across...or about 12 inches plus. I also lowered the top down to under 14 inches....and I started to use porcelian shower tiles placed into the corners to act as flame trainers and to try and make the heat and combustion swirl about inside the furnace before they exit the top vents. It sort of worked, I was able to get a aluminum melt...still too much fuel and too long of a melt time for me.
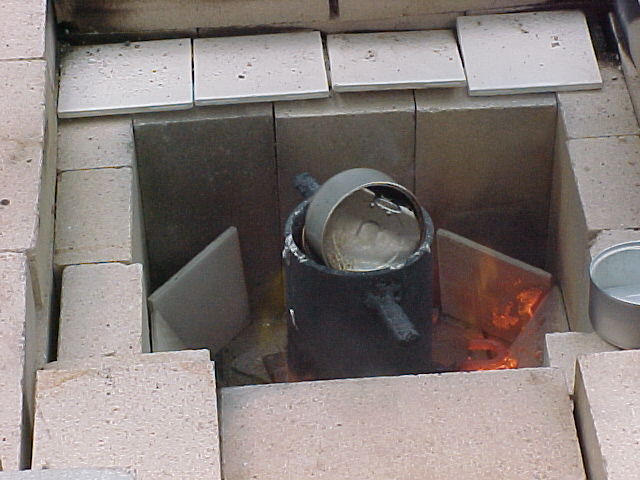
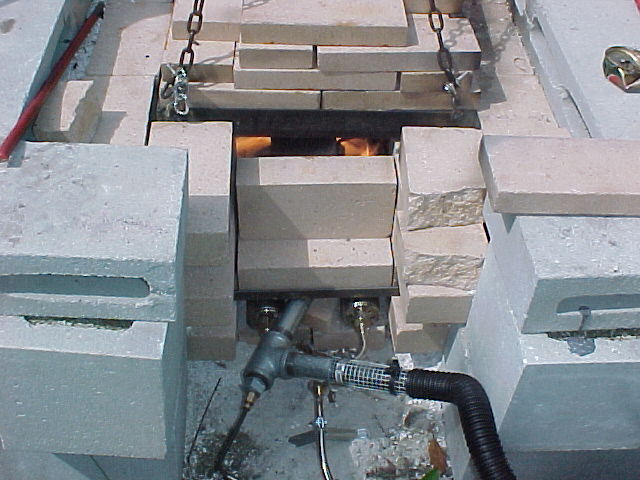 Here you can see the weed burners in place in the bottom of the front entrance with 'doorway' bricks stacked above and leaving me enough peephole space to watch the melt progress. See the flames...the fun is beginning!!!
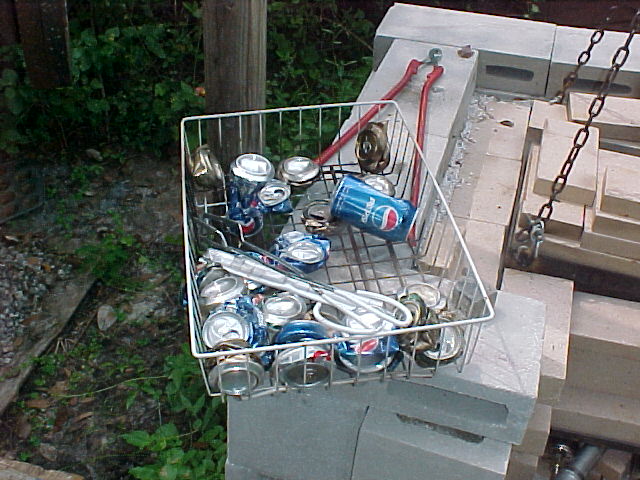
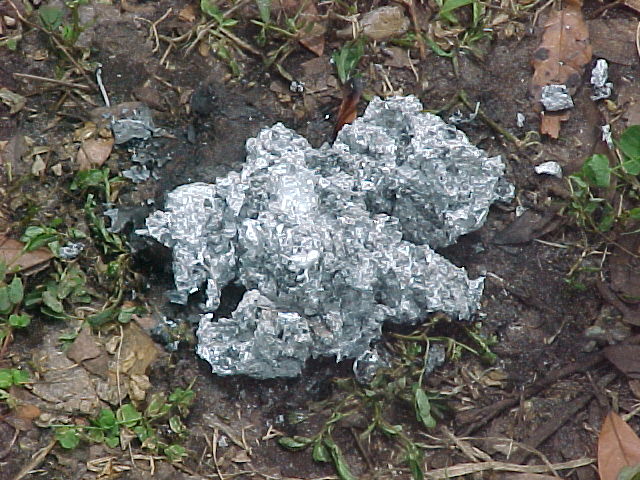
More aluminum 'pepsitonium' stock for melting down into ingots. I use a wire tongs for feeding the cans into the crucible from the top vent. To prevent dross as much as possible ( and pepsi cans make alot of dross!!) you should try to melt a small heel of aluminum in the crucible then try to push the cans under the melt ( make SURE they are DRY) to prevent excess oxidation of the melting cans. I use a bit of Mortons Lite Salt as a flux when the crucible is almost full to drive as much good aluminum out of the dross before I skim it with my skimming spoon rig. Below you can see the little pile of dross I collected from just one crucible of aluminum cans.
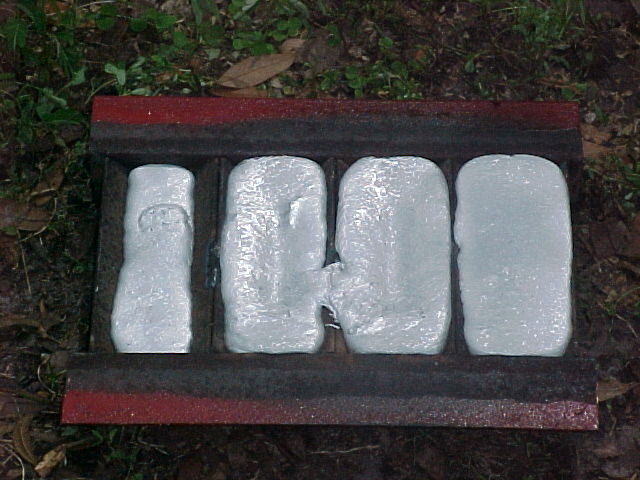
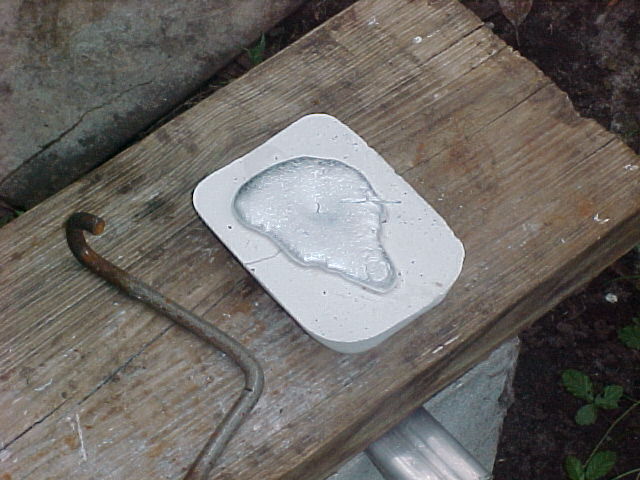
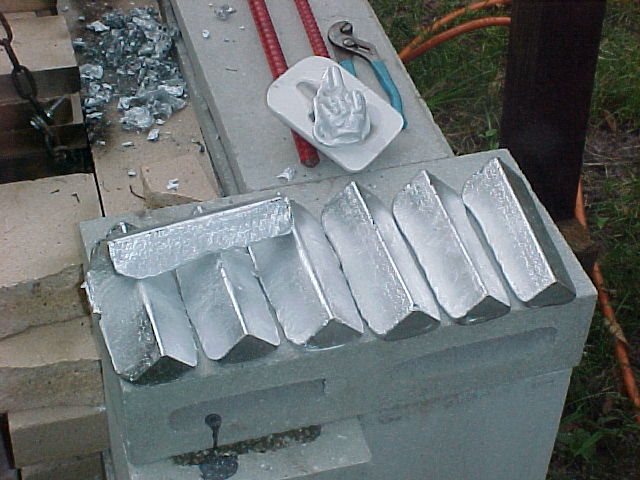
And then the ole ingot mold made of 2 inch angle iron is poured with the 'good' aluminum and my crucible can just about make 4 one pound ingots from a full pot of aluminum. I also poured a test mold I made of PoP (Plaster of Paris)...it was`a small hand shaped cigarette lighter...slightly politically incorrect but oh well. The surface tension 'blobbed' up the back side of the mold and the heat of the pour made the PoP decompose which left a sort of crummy casting....but i was a first so I'm keeping it!!